Scripting

Find a user’s assigned groups in Office 365

You will need to follow the steps below to get this script to work.

Step 1: Install required software

These steps are required once on your computer, not every time you connect. However, you’ll likely need to install newer versions of the software periodically.
Install the 64-bit version of the Microsoft Online Services Sign-in Assistant: Microsoft Online Services Sign-in Assistant for IT Professionals RTW.
Install the 64-bit version of the Windows Azure Active Directory Module for Windows PowerShell: Windows Azure Active Directory Module for Windows PowerShell (64-bit version).

Step 2: Run the following script:

$credential = get-credential
Import-Module MSOnline
Connect-MsolService -Credential $credential
$ExchangeSession = New-PSSession -ConfigurationName Microsoft.Exchange -ConnectionUri "https://outlook.office365.com/powershell-liveid/" -Credential $credential -Authentication "Basic" -AllowRedirection
Import-PSSession $ExchangeSession

Now you can run the script to find a user’s assigned groups in Office 365.

$User = read-host -Prompt "User Name"
$user_dn = (get-mailbox $user).distinguishedname
"User " + $User + " is a member of the following groups:"
foreach ($group in get-distributiongroup -resultsize unlimited){
if ((get-distributiongroupmember $group.identity | select -expand distinguishedname) -contains $user_dn){$group.name}

}

Enjoy!

Backup User Profiles

Here is a Powershell script that uses Robocopy to copy a user profile or any directory to the specified destination.

$source = "C:\Users\username\"
$timefolder='yyyy-MM-dd'
$destname = (Get-Date).ToString($timefolder) 
$destination = "\\DESTINATION\$destname\"

$timeformat='yyyy-MM-dd hh:mm:ss tt'
$time = (Get-Date).ToString($timeformat) 

$dircheck = Test-Path $source

#Creating Log File
$time + "Creating Log" | Out-File log.txt

#Checks if source exists
if($dircheck -eq $true) {
    Write-Host "Backing up $source"
    $time + "Starting Backup" | Out-File log.txt
    ROBOCOPY $source $destination /COPYALL /SEC /MIR /S /E /W:3 /A-:SH| Out-file log.txt -Append
}
else {
    $time + "Source does not exist" | Out-File log.txt -Append
    Write-Host "Source does not exist!"
}

Scan for Files/Folders Older Than 90 days

This script will scan through a list of UNC’s and it will locate any folders or files that are older than 90 days. You can change the amount of days by editing the $gtdays variable.

$servers = Get-Content "\\SERVER\"
$gtdays = "90"
$timeformat='yyyy/MM/dd hh:mm:ss tt'
$time = (Get-Date).ToString($timeformat) 
$drive = "v"
$drivemapped = $drive + ":"

$username = 'USERNAME'
$password = ConvertTo-SecureString -string 'PASSWORD' -AsPlainText -Force
$cred = New-Object System.Management.Automation.PSCredential -argumentlist $username, $password

foreach($server in $servers) {
    
    #cmd /c net use v: $server  | Out-Null
    New-PSDrive -name $drive -psprovider filesystem -root $server -Credential $cred  | Out-Null
    $date = Get-ChildItem $drivemapped| Sort-Object -Descending -Property LastWriteTime | Select-Object -First 1
    $days = (New-TimeSpan $date.LastWriteTime $time).Days
    #cmd /c net use v: "/delete" | Out-Null
    Remove-PSDrive $drive | Out-Null

    if($days -gt $gtdays) {
        New-Object –TypeName PSObject -Property @{
            'Server' = $server
            'File or Folder Name' = $date.Name
            'Date'= $date.LastWriteTime
            'Days Old'= $days
        }
        
    }
    else {
              
    }   
}

Bulk User and Computer Object Creation for DC Labs

Here are two scripts that will create a bulk amount of users and computer objects in Active Directory. It is set to create 50 objects but you can always adjust the amount in the $number variable.

Computer Creation:

$number= for($i=1; $i -le 50; $i++){$i}

foreach($num in $number){
    $computers = "Computer-" + $num
    New-ADComputer -Name $computers -Path "OU=Computers, OU=IT Department,DC=ITLab,DC=local" -Description "Test Computer"
}

User Creation:

$number= for($i=1; $i -le 50; $i++){$i}

foreach($num in $number){
    $user = "User" + $num
    $password = ConvertTo-SecureString "PASSword123$" -AsPlainText -Force;
    New-ADUser -Name $user -SamAccountName $user -DisplayName $user -AccountPassword $password -Enabled $true -Path "OU=Users, OU=IT Department,DC=ITLab,DC=local"
}

32bit Uninstall and Reinstall PowerShell Script

Below is a script that will automatically uninstall and reinstall a 32bit application.

Please note: This script only works with 32bit applications!

In order for this script to work, you will need to configure the following:
$Appname = Insert Application Name
$AppSetup = Insert Application File Path After MSIEXEC /I
$Silent = Insert Silent Install Switches
$SilentUninstall = Insert Silent Uninstall Switches

I am using TightVNC for the following example:

$appname = 'TightVNC'
$32bit = get-itemproperty 'HKLM:\Software\Microsoft\Windows\CurrentVersion\Uninstall\*' | Select-Object DisplayName, DisplayVersion, UninstallString, PSChildName | Where-Object { $_.DisplayName -match "^*$appname*"}
$appSetup="msiexec /i tightvnc-2.7.10-setup-64bit.msi"
$silent = " /quiet /norestart ADDLOCAL=Viewer"
$silentuninstall = " /qn"

if ($32bit -eq "" -or $32bit.count -eq 0) {
                Write-Host "Software is not Installed"
                Start-Sleep -s 3
                Clear-Host
                Write-Host "Starting Setup..."
                cmd /c ($appSetup + $silent)
                Clear-Host
                Write-Host "Installation Complete!"
                Start-Sleep -s 3
}
else {
    
                $Uninstallstring = $32bit.UninstallString -replace 'msiexec.exe /i','msiexec.exe /x'
                Write-Host "Uninstalling Software..."
                cmd /c ($uninstallstring + $silentuninstall)
                Clear-Host
                Write-Host "Starting Setup..."
                cmd /c ($appSetup + $silent)
                Clear-Host
                Write-Host "Installation Complete!"
                Start-Sleep -s 3
           
}

Enjoy!

Chrome Kiosk

At the bottom of this post, I have included another freebie that will launch Chrome into Kiosk Mode and disable the following input functions:

ALT + F4
CTRL + SHIFT + ESC
ALT + TAB
WINDOWS KEY
LEFT MOUSE
RIGHT MOUSE


You can use the following shortcut to re-enable the keys above:

CTRL+SHIFT+TAB

I would highly suggest using AutoHotKey, if you are interesting in doing something similar.

What is AutoHotKey?
AutoHotkey (AHK) is a free, open-source macro-creation and automation software for Windows that allows users to automate repetitive tasks. It is driven by a scripting language that was initially aimed at providing keyboard shortcuts, otherwise known as hotkeys, that over time evolved into a full-fledged scripting language.

You can find more information about AutoHotKey here.

AutoHotKey Sourcecode:

#NoEnv  ; Recommended for performance and compatibility with future AutoHotkey releases.
; #Warn  ; Enable warnings to assist with detecting common errors.
SendMode Input  ; Recommended for new scripts due to its superior speed and reliability.
SetWorkingDir %A_ScriptDir%  ; Ensures a consistent starting directory.
run, "C:\Program Files (x86)\Google\Chrome\Application\chrome.exe" --kiosk "http://www.google.com"
rButton::return
!F4::return
^+esc::return
!TAB::return
LWin::return
RWin::return
^+TAB::Run, %comspec% /c taskkill /f /im kiosk.exe


Download Now

Enjoy!

Styling Your Powershell HTML Reports

When you are using Convertto-HTML, you can easily customize your reports by using the -Head, -Precontent, -Body, -Postcontent parameters.

You can insert HTML and CSS into these parameters by using a here-string.

Below is an example on how to use some of these parameters to customize an Event Log Report.

$Head = @"
<style>
body { background-color:#f6f6f6; font-family:calibri; margin:0px;}
TABLE {border-width: 1px;border-style: solid;border-color: black;border-collapse: collapse;}
TH {border-width: 1px;padding: 3px;border-style: solid;border-color: black;background-color: #34495e; color:#ffffff}
TD {border-width: 1px;padding: 3px;border-style: solid;border-color: black;}
TR:Nth-Child(Even) {Background-Color: #dddddd;}
</style>
"@
$precontentheader1 = @"
<div style="padding: 20px 0 5px;position: relative;top:0px;background-color: #34495e;margin-bottom:40px;">
<center>
<img src="https://www.joseespitia.com/wp-content/uploads/2015/11/JE-white.png">
<h2 style="color:#fff; font-size:55px;">
"@
$precontentheader2 = @"
</h2>
</div>
"@

$GetEventLog = Get-EventLog system -Newest 100 | Select-Object -property TimeGenerated, Source, Message, Entrytype |  Where-Object { $_.entrytype -eq "error" -or "warning" }
$Errorcount = $GetEventLog.Index.Count

$GetEventLog | ConvertTo-Html -Head $Head -PreContent "$precontentheader1 $Errorcount System Errors Found$precontentheader2" | Out-File Eventlogs.html

Teamviewer 11 Silent Install Download

Here is a freebie for everyone that does not have a commercial license for Teamviewer. The package below is a silent install for Teamviewer 11 without the MSI!


Download Now

Enjoy!

How to enable Enterprise Mode in Internet Explorer 11

What is Enterprise Mode?

Enterprise Mode, a compatibility mode that runs on Internet Explorer 11 on Windows 8.1 Update and Windows 7 devices, lets websites render using a modified browser configuration that’s designed to emulate either Windows Internet Explorer 7 or Windows Internet Explorer 8, avoiding the common compatibility problems associated with web apps written and tested on older versions of Internet Explorer.

How do I set it up?

You will first need to specify which sites will be rendering in Enterprise Mode. To do this you can use the Enterprise Mode Site List Manager Tool for Windows 7 and Windows 8.1. You can download it here.

Once you have created your XML file and shared it, you will need to run the following command to enable Enterprise Mode with your list:
Make sure to replace “\\SERVER\sitelist.xml” with the location of your XML file.

reg add "HKLM\SOFTWARE\Policies\Microsoft\Internet Explorer\Main\EnterpriseMode" /v "Sitelist" /t reg_sz /d "\\SERVER\sitelist.xml" /f

Now you can view your site list in Enterprise Mode!

Bitlocker Loop Fix

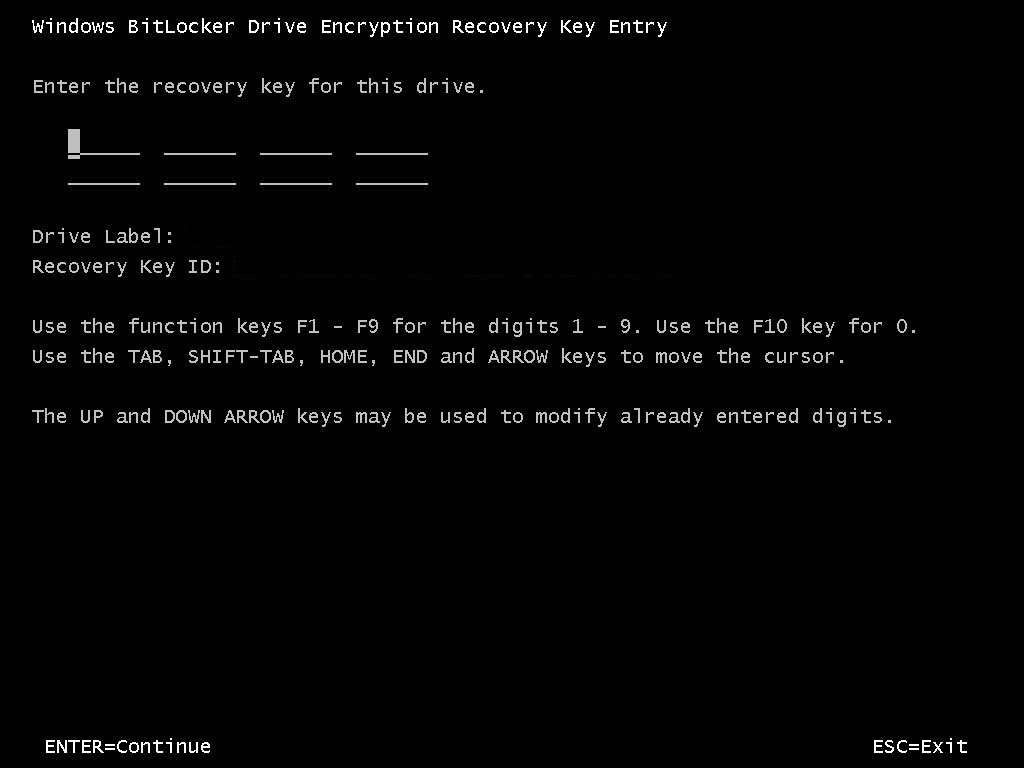
The following script will fix the Bitlocker Recovery Loop that prompts you for your Bitlocker password when you boot up your computer. This script is specifically for Windows 7 computers. Windows 8.1 and above have a much easier way to deal with this. You can find the Windows 8.1 method at the very bottom of this post.
Read more